
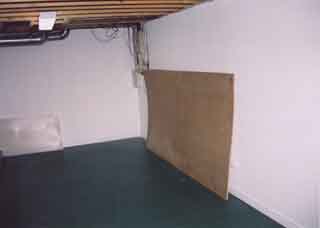
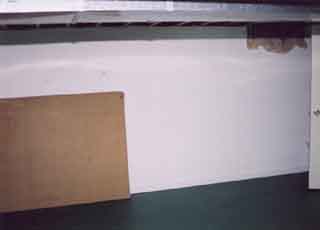
The floor is sealed & painted to reduce dust, and the drywall has been sealed. Only one step remaining the ceiling treatment.... check back to see how I tackle this tricky problem. I have a unique solution in mind.
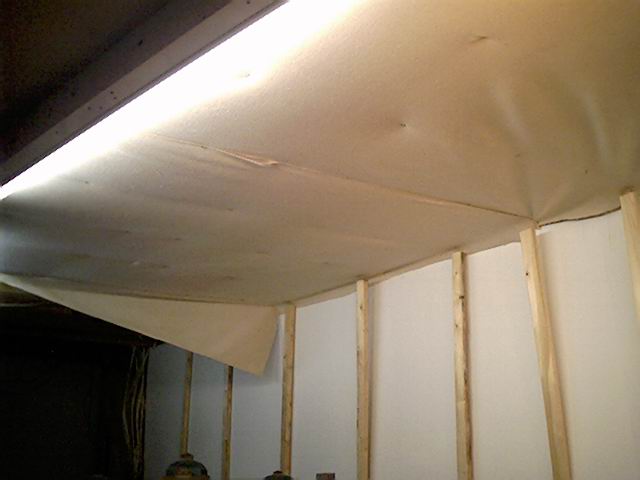
I have now put some of the ceiling treatment up - it wasn't too bad. The material is about 5' wide ( 150 cm) and I found that square shaped pieces were reasonable to handle. The material is tacked up with an electric staple gun. After the material is initially tacked up, the canvass is stretched as best as possible while it is tacked up.
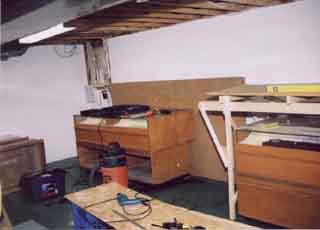
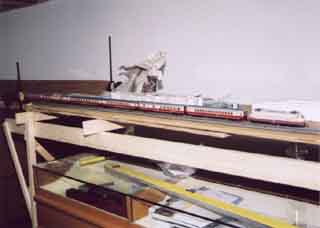
The furniture in these pictures are display cases from my father's old Mens' Wear Store (Esquire Custom Tailors). They are excellent for storage and the top level has glass display possibilities - always nice. They have castors installed so they can be rolled out of the way to work under the layout as shown below. The class 103 is setup to check the size of it pulling 6 27cm passenger cars and provide a little excitement to my kids. They were very sad when I put the trains away again to continue construction, they wanted trains to run! In fact Owen started to cry when I was putting the train away.
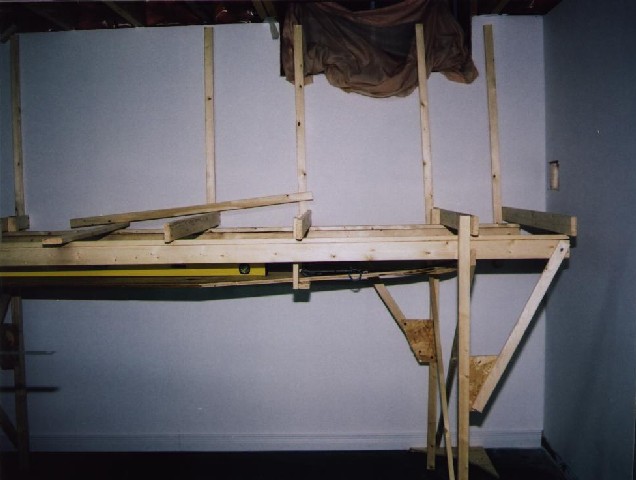
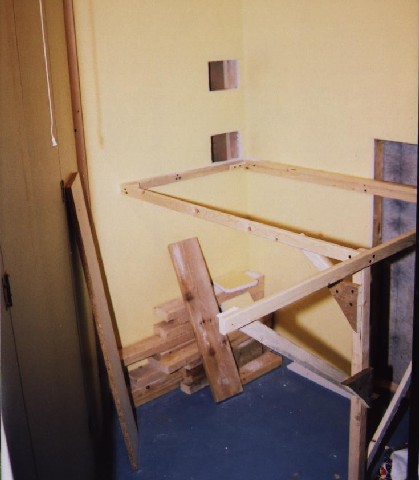
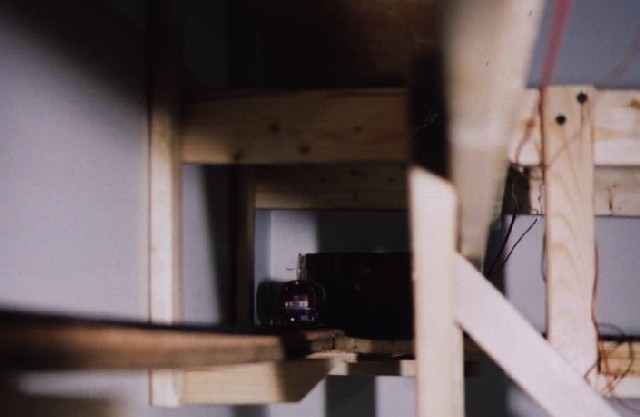
The benchwork is the classic L-Girder construction. The joists have backdrop supports already installed as they also support some of the staging level roadbed. Notice the hole in the wall - it is one of two used to allow the trains to enter and exit the furnace room to traverse the helix to/from the staging levels.
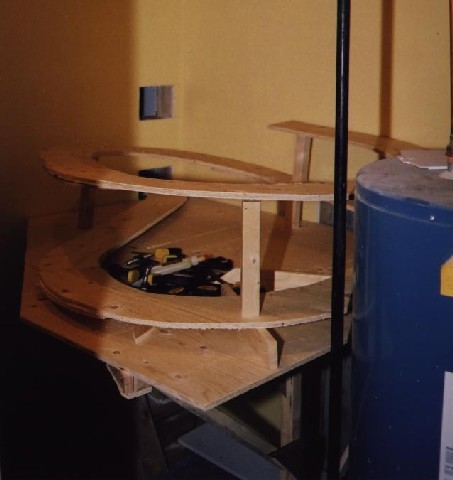
Benchwork for the helix construction - a little unorthodox, but it is in an odd shaped area.
The layout is now connected to a PC running Railroad & Co. via an Uhlenbrock Intellibox and a Viessmann 5217 (feedback). With all this setup, the PC can automatically dispatch trains from the staging yard, run them up the helix and return them to an empty siding in the staging yard. When everything works - the computer can run 4 trains at once, plus I can manually control a Köf II in the shunting yard.
Digital control is fantastic. And PC control of trains is fun as the kids think it's just like a video game!
No pictures yet - but I'll try for some soon.
Test running is critical - every change to the tracks, wiring etc. must be double and triple checked. That's my excuse and I'm sticking to it... it has absolutely nothing to do with it being the fun part...
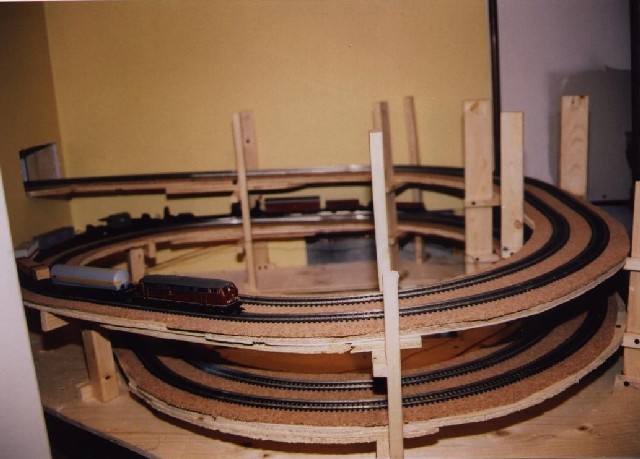
The helix is about 3% up and down - even small locomotives seem to be able to handle it with ease, especially when digital decoders with cruise control are employed. Then the locomotives maintain the same speed climbing and descending the helix. Ok - I know it's not exactly circular so I shouldn't call it a helix, but it's almost circular...
Here the locomotive is re-entering the layout room through the lower hole from the furnace room. You can see the two main wire buses in the upper right of the picture - the ground bus is a bare 12 gauge wire, and the main power for the layout is supplied by the 12 gauge red insulated wire. Since I'm now definitely using digital locomotive control from the outset, wiring for different blocks etc. is significantly reduced.
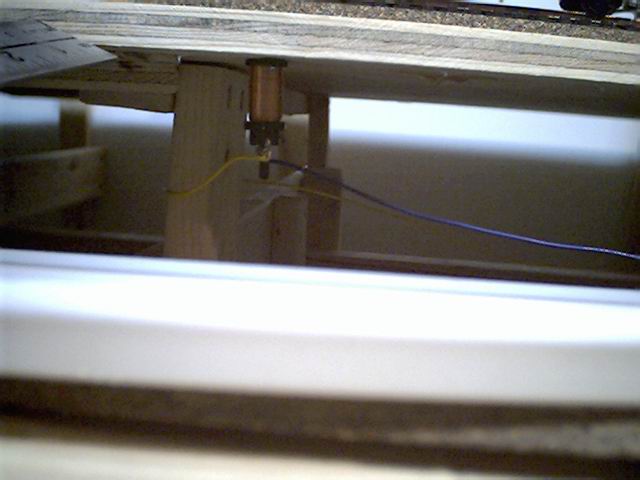
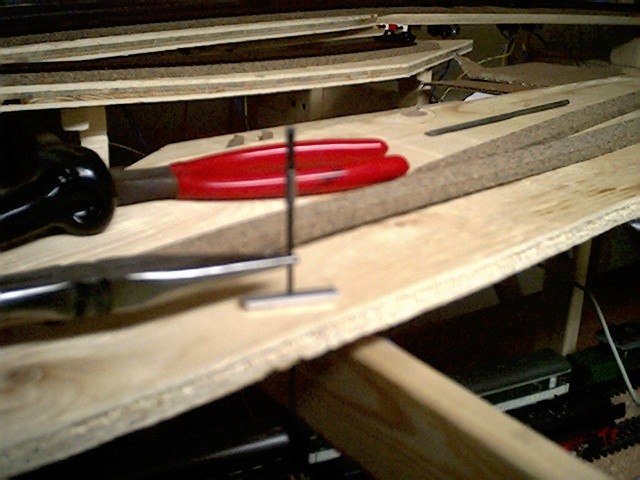
I had seen this type of uncoupler on the web a few times and thought I'd try it out as it has some flexibility in where it can be installed. I found it easy to install, and found that it worked very well.
See the following links for photos:
![]()
| Comments? Please Let us know how to
improve our website:
mailto:kstoll@nospam.ca.inter.net (remove the "nospam." to actually
send us mail) Interim Update: February 11, 2008 |